Makar Sankranti/ Pongal is an auspicious festival celebrated with great enthusiasm and fervor. Like every year it will be celebrated on 15th January. This festival heralds the arrival of the harvest
season and is popular in the states of Maharashtra, Tamil Nadu, and Karnataka. The first harvest day is observed by feeding family and friends. On this day many homes welcome the new season by preparing special food delicacies and making beautiful rangoli designs.
Food Preparation during Sankranti:
Sankranti is also a special day to get a taste of the traditional delicacies. The day is packed with big meals inspired by the traditional farm produce from the different the states of India. One common ingredient among the varied cuisines is the Sesame or mustard oil. This oil is used to prepare a number of the sweets like til ladoos, paatishaapta, and rewari.
- Til Ladoos- Sankranti festival is also the harvest season of sesame and therefore it is used a lot during the celebrations. Til ladoos remain a favorite traditional sweet delicacy served in almost all Indian households.
- Paatishaapta- special Bengali delicacy which is a sweet crepe or pancake served with a mixture of coconut, date palm jaggery, and khoya.
- Rewari- is a sweet prepared with sesame dipped in sugar. It is a special Punjabi dish served during Makar Sankranti.
Sankranti Kite Festival:
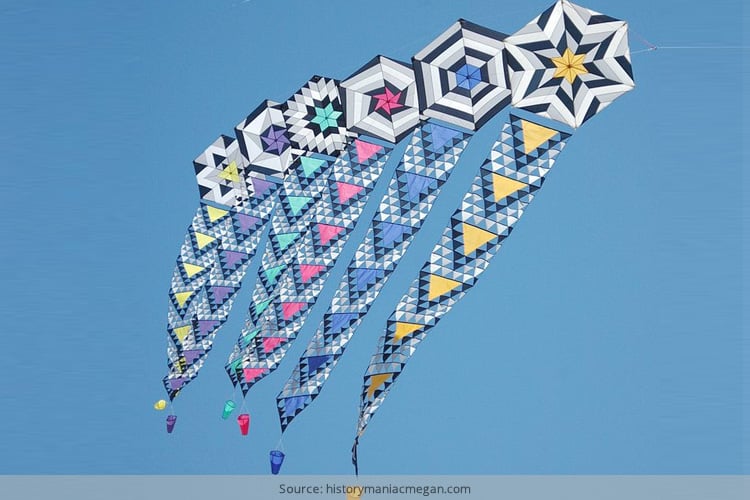
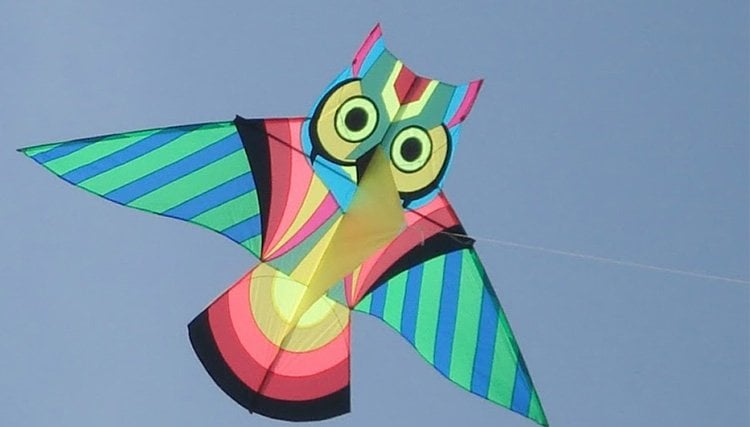
This special day is also earmarked for the flying of numerous colorful kites. The sky is full of kites that boast of unique designs and vibrant hues. Kite flying is practiced by both children and adult, with equal enthusiasm.
Top 10 Sankranti Kite Craft Ideas:
To celebrate this occasion, we have collated some awesome Sankranti house craft ideas. Take a look:
1. Kite Crafts With Drinking Straws:
Things you will need:
- 2 A4 sized craft papers in contrasting colors
- Scissors, a pencil, a scale
- 2 drinking straws
- Glue
- String – about a meter long
- Bits of colored paper ribbons for the tail & decoration
Directions:
- Place the two sheets atop each other. Fold the sheets in half along the longer edges.
- Fold one edge and open.
- Cut along the folded edges and draw out a line.
- Cut along the edges to form an elongated diamond shape.
- Make use of the cut triangles for decoration purpose.
- Turn it upside down.
- Cut the straws and paste the straws horizontally first and then vertically.
- Use a cotton thread through the vertical straw.
- Tie it to form a triangle.
- Decorate the edge with paper ribbons or any preferred designs.
2. Kite Craft With Colored Designs:
What you will need:
- 2 Whitepapers
- Watercolors
- Yarn
- Hole punch
Directions:
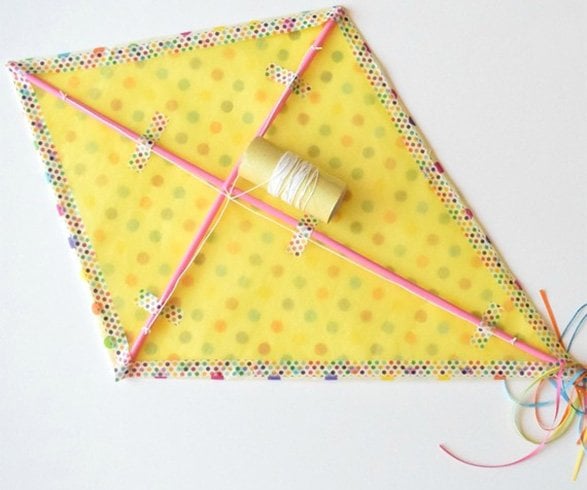
- Take a piece of paper and cut it out in a kite shape (outline using a pencil if required).
- Then paint your desired design.
- Use another white paper to paint out another design.
- After the paper dries off, use a hole punch to make a small hole in the bottom corner of the kite.
- Cut a long piece of a yarn and tie it around the hole.
- Take the other painted sheet and cut out bow-shaped designs.
- Begin at the top of the kite string and tie the yarn around each one, working your way down the string.
3. Mini Kite Craft Designs:
What you will need:
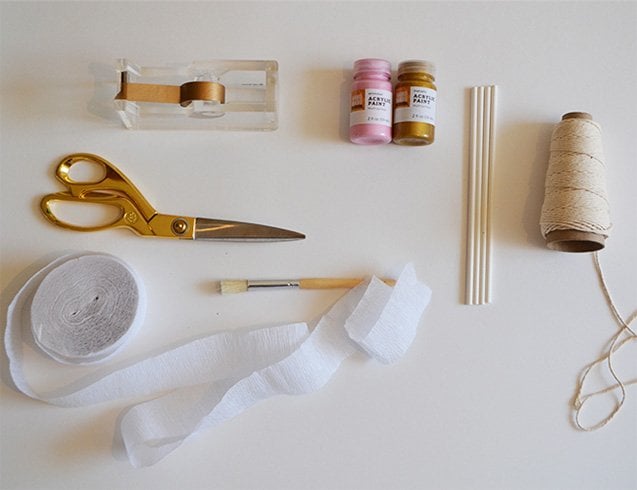
- Coordinating craft paper (any 8.5 x 11″ paper)
- Paper straws (2 per kite)
- String or twine for the kite string (at least 25-30″ long)
- Light-weight string, twine or decorative ribbon for the tail of kite (at least 20″ long)
- Decorative ribbon scraps
- Elmer’s X-treme School Glue Stick
- All purpose glue
- Glittler glue (optional)
- Scissors
- Pencil
- Ruler
Directions:
- Select two colored papers, and cut them both in half along the longest edge.
- Coat the back of one sheet with glue and place the other color on top. Smooth the page down with no edges.
- Pull out a ruler to measure and mark a spot at the top and bottom of your paper at 2.75.
- Join the four marks and draw lines to make the kite shape.
- Cut out the kite.
- Cut a length of the string and tie one end to a paper straw.
- Take the second straw and cut it into three equal pieces.
- You need to attach one end of the string to the middle of a paper straw to serve as the kite handle.
- Apply glue onto the knot so that the string will have a strong grip on the handle.
- Place the side of the kite that you want to be the bottom.
- Make use of a ruler and a pencil and connect the corners to draw a cross.
- Squeeze a bead of craft glue along the cross.
- Place the straws into the glue to form your kite frame, and allow the glue to dry for a few minutes.
- Cut a long piece of light-weight ribbon for creating the kite tail. Thread it through the long straw and attach with glue.
- Tie few ribbons to the tail using glue. You can also make use of glitter glue.
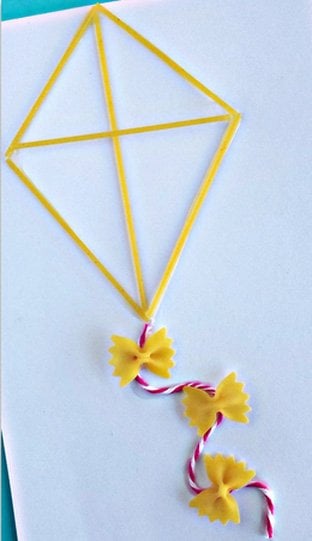
4. Kite Craft With Pasta Designs:
What you will need:
- A sheet of plain paper
- Spaghetti noodles
- Baby bow tie noodles
- String
- Glue
- Paint
Directions:
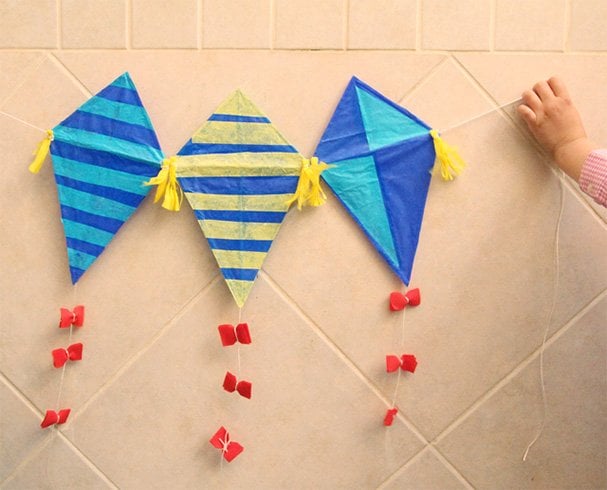
- Break the spaghetti into the side lengths of the kite.
- Glue them together on a kite-shaped plain paper.
- Make a squiggly line with the glue and attach the string to it.
- Glue the bowties on top.
- Paint all the noodles using a paintbrush (can be done before gluing them also).
- Paint the inside of the kite along with the spaghetti noodles.
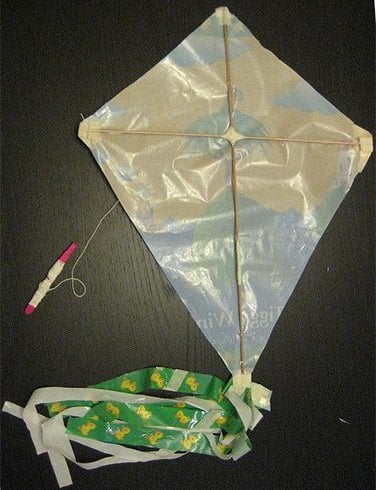
5. Kite Craft With Plastic Bag:
What you will need:
- Plastic bag
- Embroidery threads
Directions:
- Tie a length of the embroidery threads to the handles of the bag.
- Try not to keep the handles too long.
6. Kite Craft With Crepe Paper:
What you will need:
- Paper bag with string handles
- Long strips of crepe paper or streamers
- Masking tape
- Scissors
- Kitchen twine (optional)
Directions:
- Cut the crepe paper into small strip.
- Attach the crepe strips along the bottom of the bag using the masking tape.
- Tie a section of kitchen twine through the handles of the bag (optional).
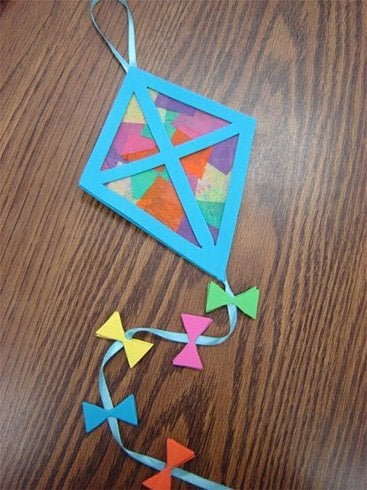
7. Stained Glass Kite Craft For Sankranti:
What you will need:
- Construction paper
- Tissue paper squares
- Clear contact paper
- Scissor
Directions:
- Cut ½ frame of each kite from a 12×8 sheet of black construction paper.
- Peel a 12×8 sheet of clear contact paper and place it sticky-side-up.
- Gently set a black frame on top of each sheet of contact paper.
- Lay two strips in a perpendicular shape to connect opposite corners.
- Then fill the four kite areas with tissue paper squares.
- Once the kites are completely filled with the tissue paper, apply a second sheet of clear contact paper.
- Trim off the excess plastic of the kites using scissors.
8. Kite Craft With Popsicle Sticks:
What you will need:
- 4 popsicle sticks
- White craft glue
- 1 sheet of brightly colored tissue paper
- Pencil
- Glitter, stickers or other embellishments (optional)
- Colored markers, colored pencils or crayons (optional)
- Scissors
- Stapler
- Yarn or ribbon
Directions:
- Make a diamond shape out of four popsicles stick.
- Dab glue over each end of the stick. Then glue the diamond shape together. Leave it to dry.
- Lay out a piece of tissue paper on the flat ground and place the glued popsicles stick diamond on top of the tissue paper.
- Use a pencil to lightly trace around the popsicles stick diamond.
- Decorate the tissue-paper diamond in any design you prefer.
- Glue on some glitter or decorate with stickers, colored markers, colored pencils or crayons.
- Cut out tissue-paper diamond along the pencil line.
- Glue the tissue-paper diamond to the popsicles sticks using glue.
- Attach a long piece of ribbon or yarn to the bottom corner of the kite tail.
- Make sure the kite tail is at least three times the length of the kite’s body.
9. Kite Craft With Skewers:
What you will need:
- Skewer sticks or simple straws
- Double sided tape
- Paper
- Scissors
- Long kite strings
Directions:
- Use a square shaped paper to form the body of the kite.
- Fold the paper in half diagonally.
- Crease the paper well and open it up again.
- Place your skewers vertically at the center of the crease and paste it. Have it aligned at the corner of your papers.
- Place your second skewer horizontally onto the paper making a cross of T shape.
- Place four tiny holes alongside the junction of the stick.
- Cut out 3 or 4 long kite strings and tie 3 knots onto the kite.
- Decorate the main body of the kite with your preferred design.
10. Kite Craft With Paper Plates:
What you will need:
- 1 paper plate
- 1 suction-capped arrow
- Ribbon
- Stickers/coloured pens/pencils/crayons (to decorate)
- masking tape
- Glue
- Scissors
Directions:
- Cut a circle out of the paper plate.
- Tape few long colorful ribbons to the underside of the plate.
- Decorate the top of the plate with stickers, paints or colored pencils.
- Get your suction-capped arrow and either hot glue it to the underside of the plate or tape it in place. This will be the handle to hold the kite.
- Hold the stick and run along, watch the ribbons stream out of the back of your kite.
Have fun with the colors, designs, and kite flying. And, do mention below which Pongal craft ideas you would love to try out.

